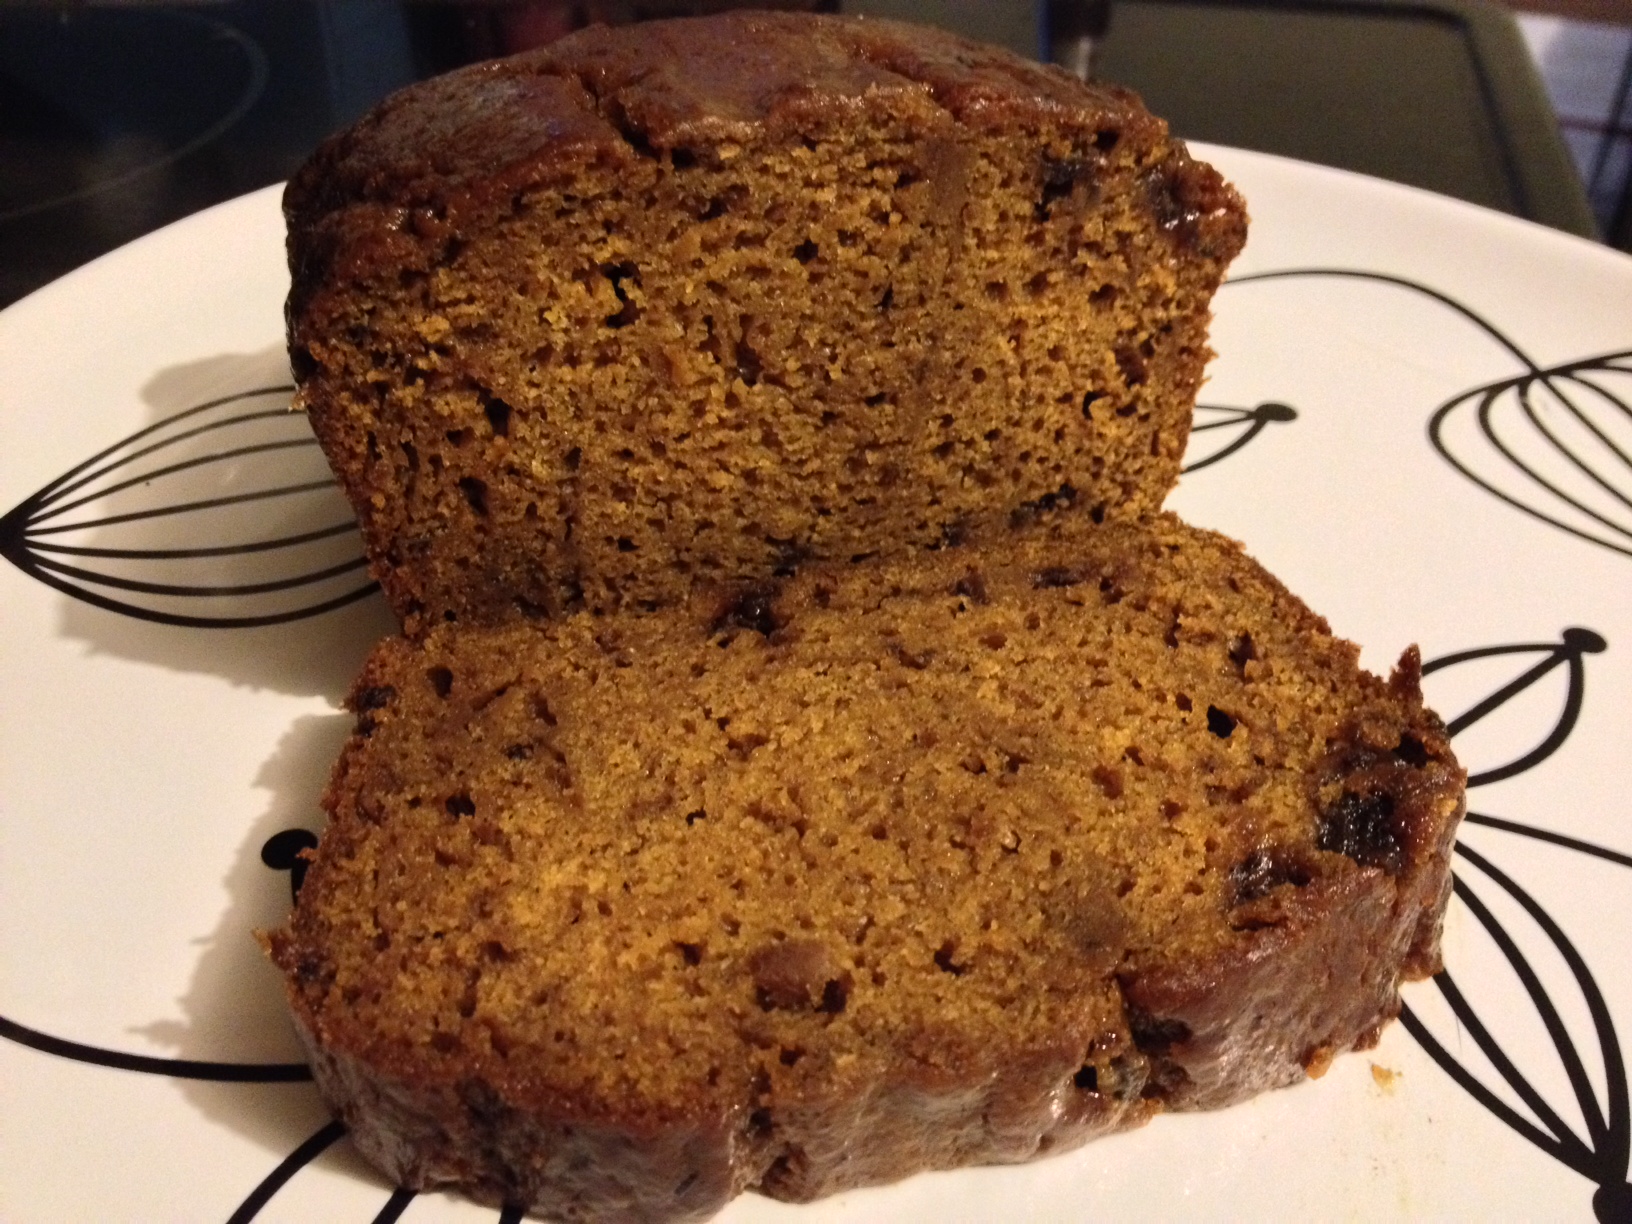
I like to trick (and treat) myself into being healthy. I feel less guilty about eating chocolate chip cookies late at night if at least my breakfast is nutritious. Pumpkin is rich in fibre, potassium, iron, vitamins A and E. But possibly even more important is the fact that the pumpkin in this loaf, coupled with the Thanksgiving bounty spices, makes early mornings feel like a holiday. What’s more I get to savour all the pumpkin, spicy goodness of pumpkin pie without the icky, squishy, jelly-like consistency. Sorry, I have an aversion to pumpkin pie filling. I don’t know why, but I feel the need to apologize. I just don’t like the texture. But the flavourings are totally Fall and utterly up my alley. So let’s turn a negative into a positive and bake bread instead.
Will stay moist for days, wrapped well in the fridge.
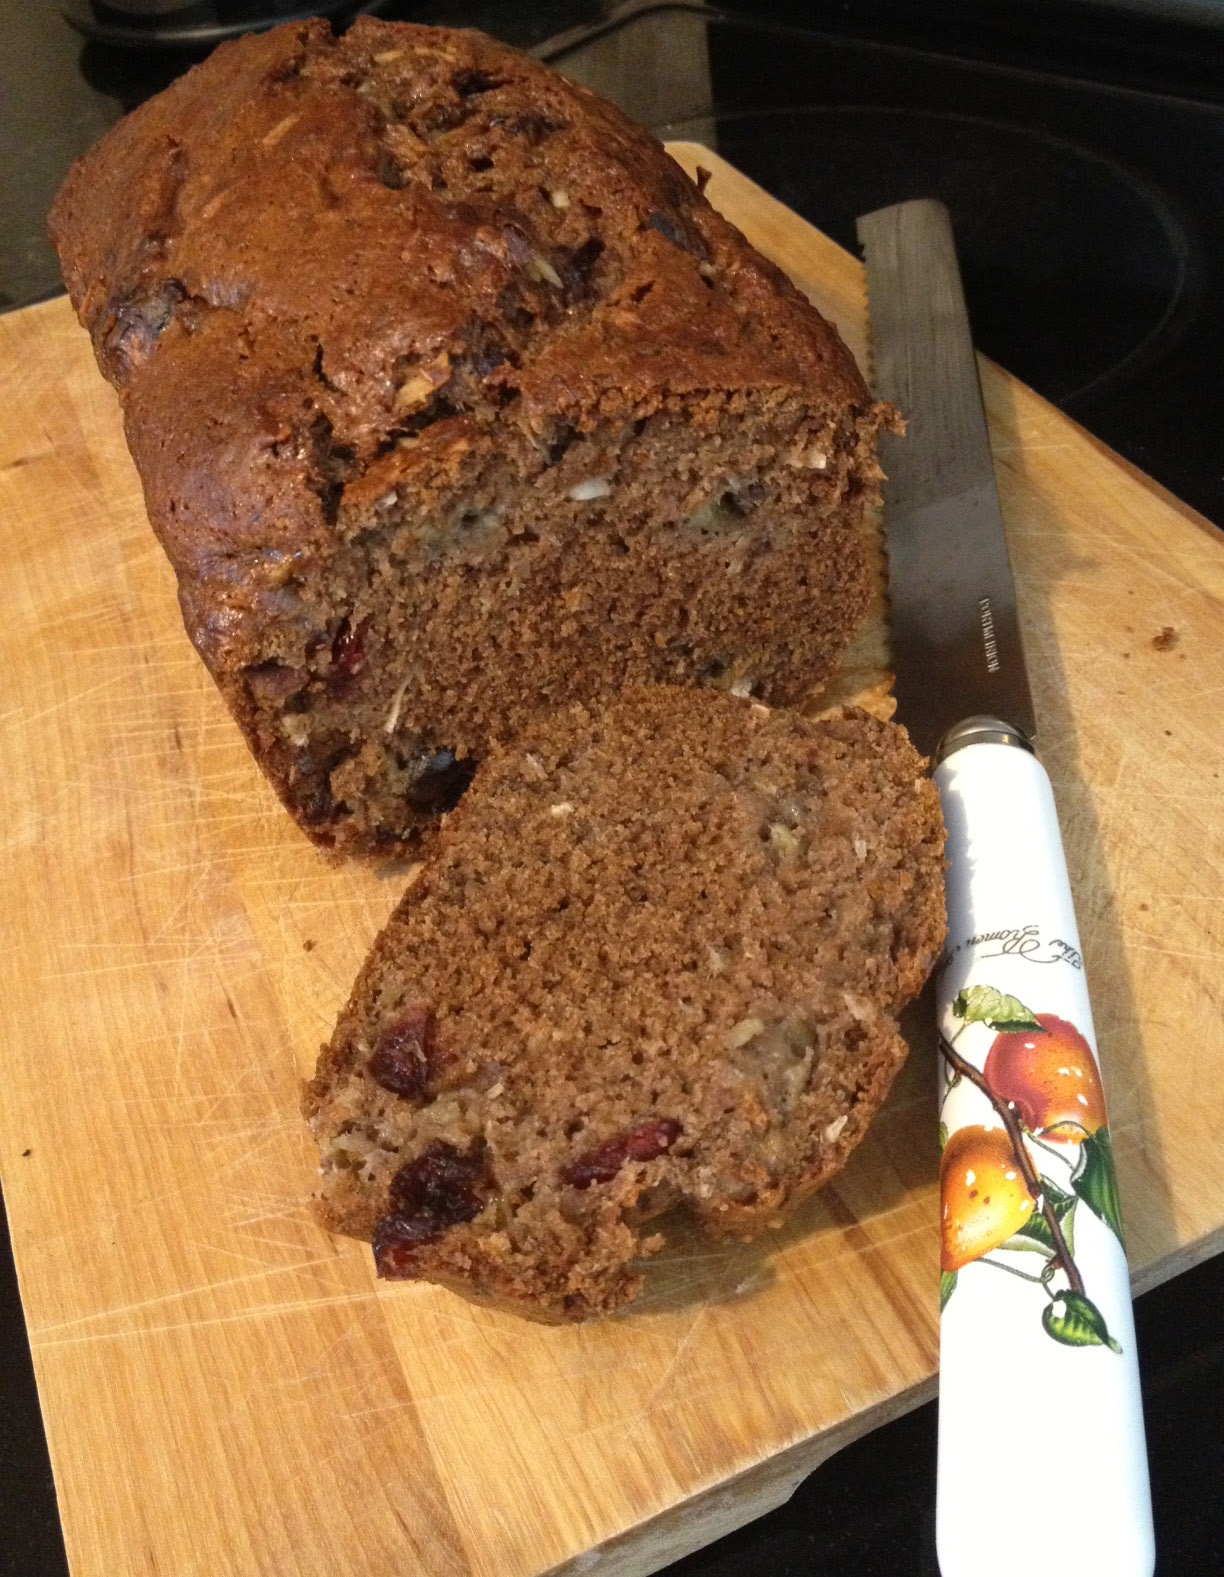
Pumpkin Spiced Walnut Bread – Adapted from The Joy of Cooking
Position a rack in lower third of oven. Preheat oven to 350 degrees F. Grease a 9 by 5 inch or 8 cup loaf pan. Or fit with a sheet of parchment paper as securely into the pan as possible, no need to grease it.
Whisk thoroughly:
1 ½ cups all-purpose flour
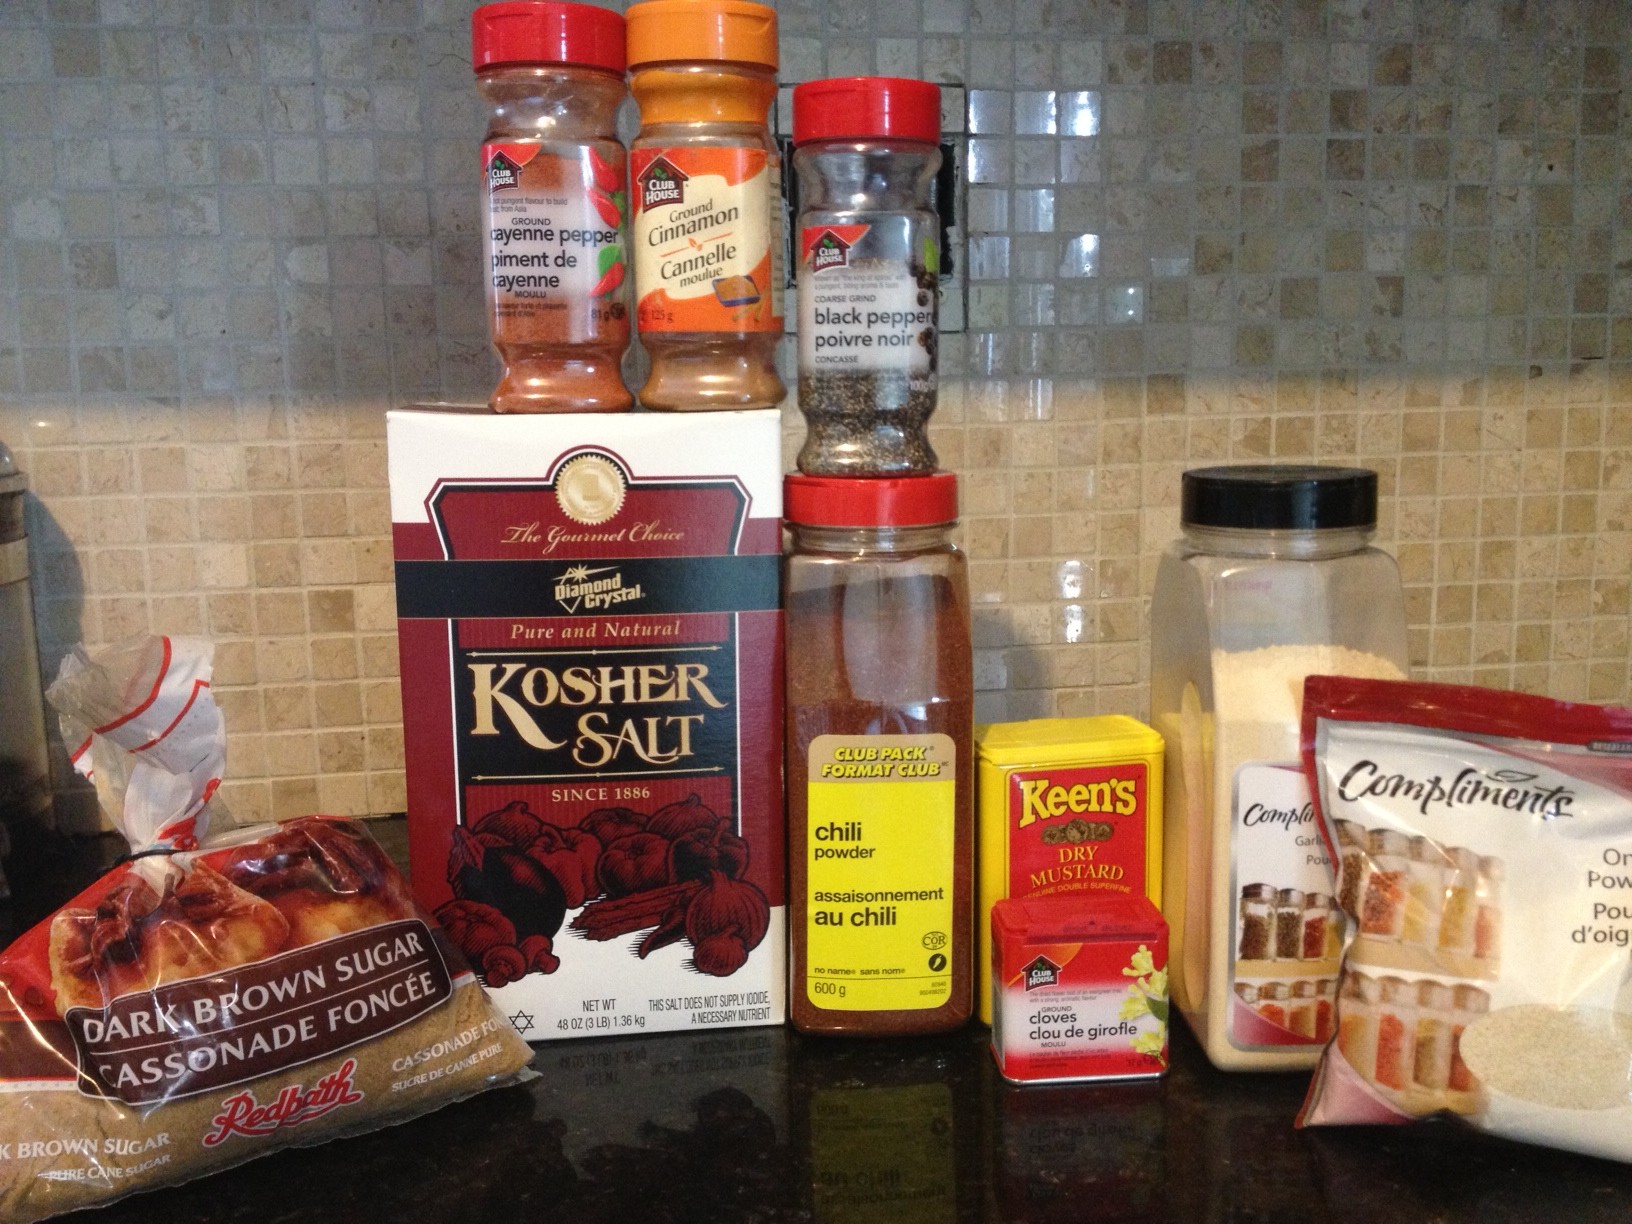
1 ½ teaspoons ground cinnamon
1 teaspoon baking soda
1 teaspoon salt
1 teaspoon ground ginger
½ teaspoon ground nutmeg
¼ teaspoon ground cloves
¼ teaspoon baking powder
Combine in another bowl:
1/3 cup milk or water
½ teaspoon vanilla
In a large bowl, beat until creamy, about 30 seconds:
6 tablespoons unsalted butter or canola oil
Gradually add and beat on high speed until lightened in colour and texture, about 3 to 4 minutes (These are approximate measures for sweetness. The original recipe calls for 1 1/3 cup of brown and white sugars but I dialed back the sugar):
About ½ cup brown sugar
About ½ cup honey
Beat in 1 at a time:
2 large eggs
Scrape down bowl with rubber spatula to make sure honey is incorporated.
Add and beat on low speed just until blended:
1 cup pumpkin puree (unsweetened, not pumpkin pie filling. Can also substitute cooked, mashed squash, yams or sweet potatoes)
Add the flour mixture in 3 parts alternating with milk mixture in 2 parts, beating on low speed or stirring with a rubber spatula until smooth and scraping sides of bowl as necessary.
Fold in:
½ cup coarsely chopped, toasted walnuts or pecans
½ cup raisins or roughly chopped dates
Scrape the batter into the pan and spread evenly. Bake until knife inserted into centre comes out clean, about 1 hour to 1 hour, 10 minutes. Let cool in pan on a rack for 5 to 10 minutes before unmolding to cool completely on the rack.
Position a rack in lower third of oven. Preheat oven to 350 degrees F. Grease a 9 by 5 inch or 8 cup loaf pan. Or fit with a sheet of parchment paper and no need to grease it.
Whisk thoroughly:
1 ½ cups all-purpose flour
1 ½ teaspoons ground cinnamon
1 teaspoon baking soda
1 teaspoon salt
1 teaspoon ground ginger
½ teaspoon ground nutmeg
¼ teaspoon ground cloves
¼ teaspoon baking powder
Combine in another bowl:
1/3 cup milk or water
½ teaspoon vanilla
In a large bowl, beat until creamy, about 30 seconds:
6 tablespoons unsalted butter or canola oil
Gradually add and beat on high speed until lightened in colour and texture, about 3 to 4 minutes (These are approximate measures for sweetness. The original recipe calls for 1 1/3 cup of brown and white sugars but I dialed back the sugar):
About ½ cup brown sugar
About ½ cup honey
Beat in 1 at a time:
2 large eggs
Scrape down bowl with rubber spatula to make sure honey is incorporated.
Add and beat on low speed just until blended:
1 cup pumpkin puree (unsweetened, not pumpkin pie filling. Can also substitute cooked, mashed squash, yams or sweet potatoes)
Add the flour mixture in 3 parts alternating with milk mixture in 2 parts, beating on low speed or stirring with a rubber spatula until smooth and scraping sides of bowl as necessary.
Fold in:
½ cup coarsely chopped, toasted walnuts or pecans
½ cup raisins or roughly chopped dates
Scrape the batter into the pan and spread evenly. Bake until knife inserted into centre comes out clean, about 1 hour to 1 hour, 10 minutes. Let cool in pan on a rack for 5 to 10 minutes before unmolding to cool completely on the rack.
Keeps for a week, well wrapped in the fridge. Also freezes well after it’s baked. Just thaw in fridge for up to two days before slicing.